We've all been there — you have the perfect photo, but it's covered with a Snapchat filter you now regret. Maybe it was the dog ears that seemed cute at the time, or a heavy beauty filter that smoothed away all your natural features. Now you want the original, unfiltered version back.
The good news? With AI technology, removing Snapchat filters is now easier than ever. In this guide, we'll show you exactly how to restore your photos to their natural beauty.
Why Remove Snapchat Filters?
1. That Perfect Shot... With the Wrong Filter
You finally got everyone to smile at the same time, the lighting was perfect, and the angle was just right — but you forgot to turn off the dog ears filter. Now it's the only copy you have.
2. Dating App Photos
Let's be real: heavily filtered photos don't do well on Tinder, Bumble, or Hinge. People want to see the real you. That cute selfie would get way more swipes without the cartoon sparkles.
3. Instagram Aesthetic
Your Snapchat screenshot would fit perfectly in your Instagram feed... if only it didn't have that giant timestamp and those rainbow effects. Removing filters lets you repurpose your best shots.
4. "Can You Send Me That Photo Without the Filter?"
Your friend looks amazing in that group pic you took, but they can't use it because of the filter you added. Now you can fix it and be a hero.
5. Regret Happens
That filter seemed hilarious at 2am. Now? Not so much. We've all been there.
6. Embrace Your Real Self
There's something powerful about looking at a photo and seeing the real you — your actual smile, your real skin, your genuine expression. Filters can be fun, but they can also make us forget what we actually look like. Removing them is a small act of self-acceptance.
7. Preserve Authentic Memories
Years from now, you'll want to remember what that moment actually looked like. The real sunset. Your friend's actual face. The genuine joy in your eyes. Filters fade in and out of style, but authentic memories never get old.
Understanding Snapchat Filter Types
Not all Snapchat filters are created equal. Understanding what you're dealing with helps you choose the right removal approach:
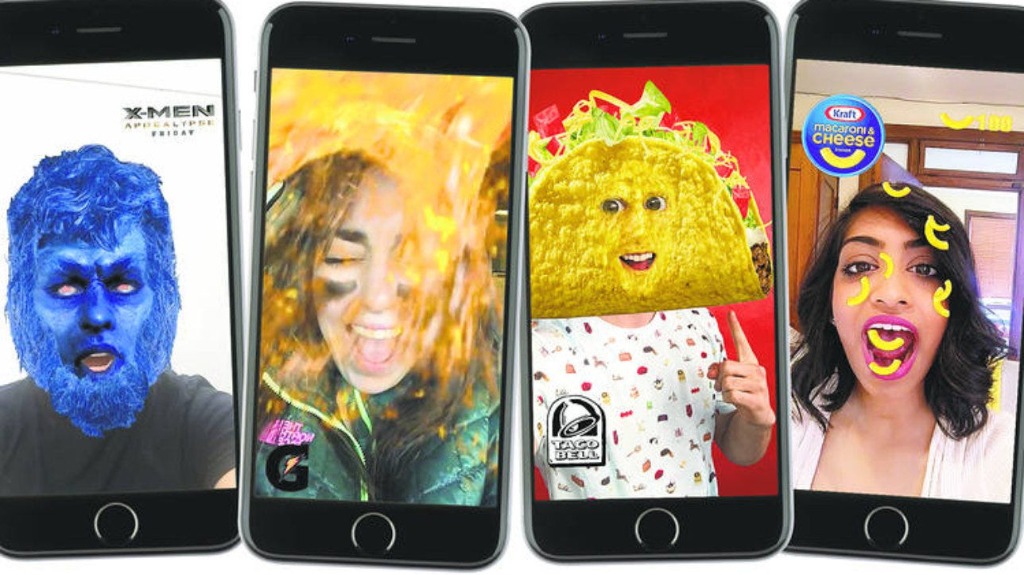
Type 1: Stickers & Overlays

Examples: Dog ears, flower crowns, text, emojis, AR glasses
Removal difficulty: Medium
Best tool: Sticker Remover
These are graphics layered ON TOP of your photo. The original image exists underneath — it just needs to be revealed.
Type 2: Color Filters
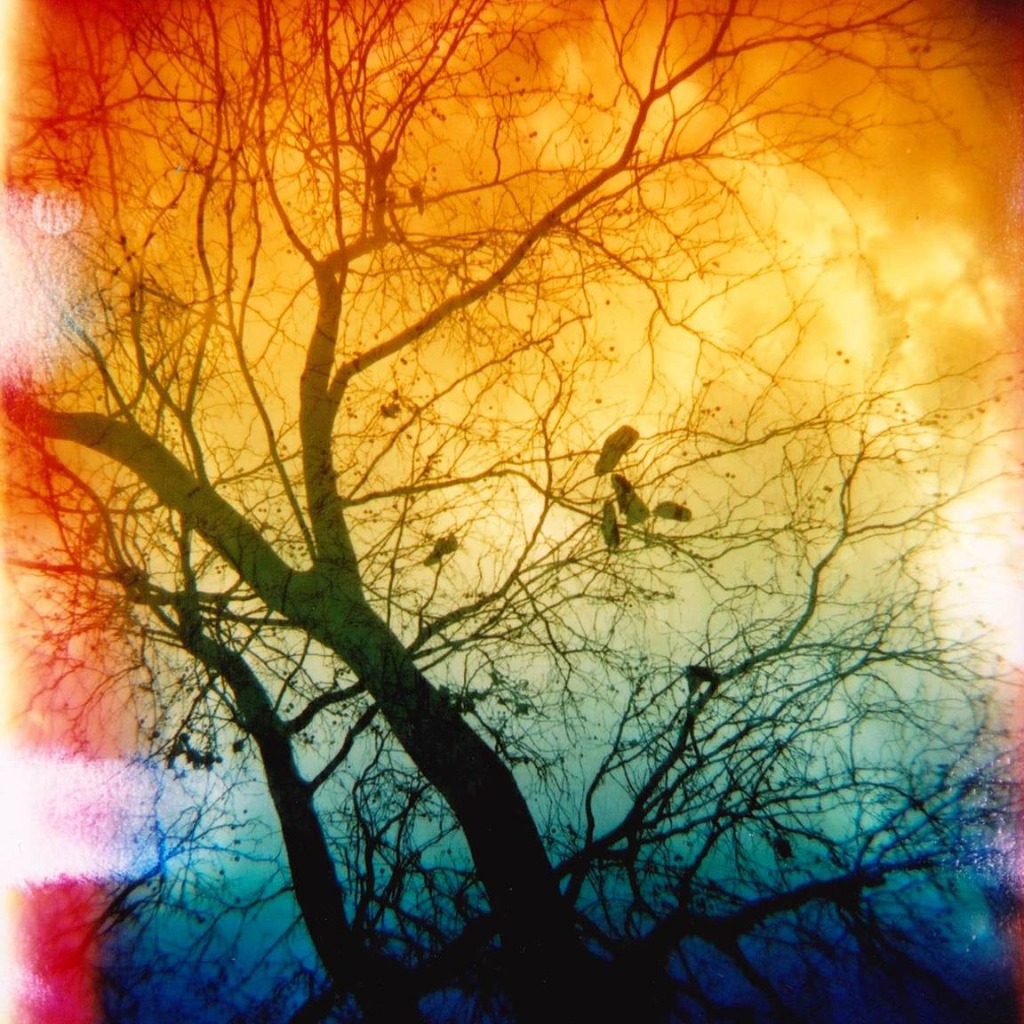
Examples: Vintage tones, warm/cool color shifts, sepia, black & white
Removal difficulty: Easy to Medium
Best tool: Color Restore
These alter the color values across your entire image. AI can analyze the unnatural color curves and restore natural tones.
Type 3: Beauty Filters & Face Smoothing
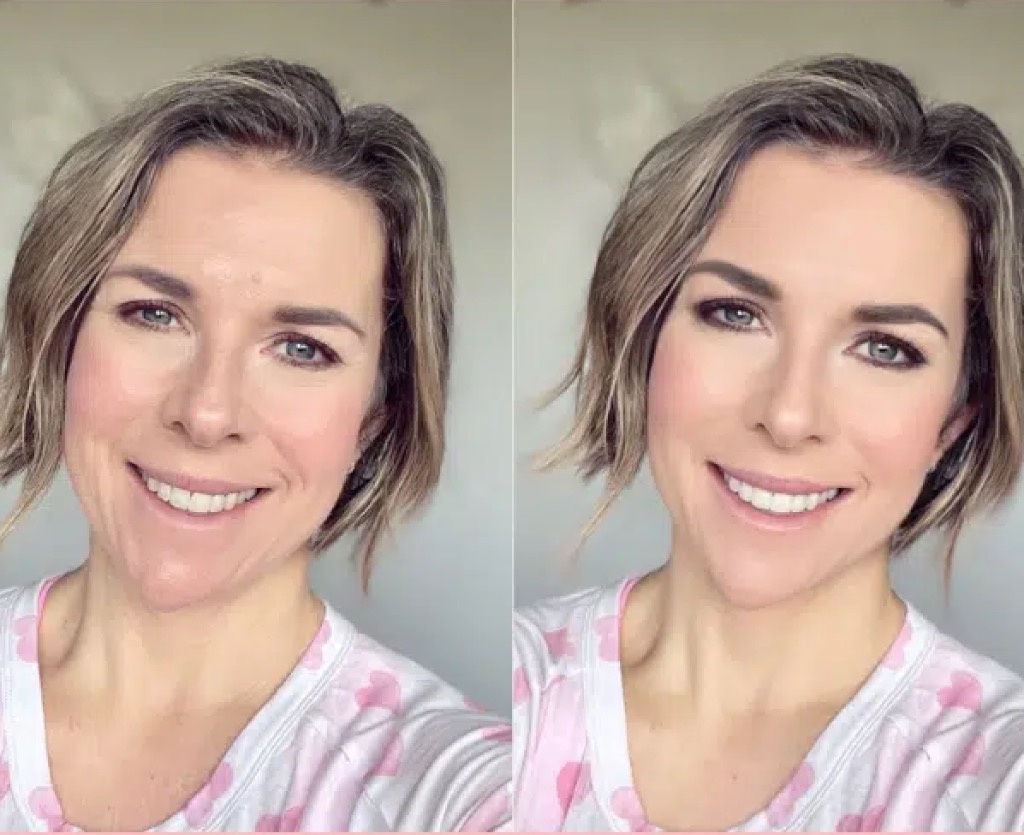
Examples: Skin smoothing, eye enlargement, face slimming
Removal difficulty: Hard
Best tool: Image Enhance
These filters modify pixel data. While complete reversal isn't always possible, AI can restore natural skin texture and reduce the "plastic" look.
Method 1: Remove Stickers & Emojis
If your photo has visible stickers, emojis, or AR elements, our Sticker Remover tool is your best bet.
How it works:
Step 1: Upload your filtered photo
Step 2: Describe what you want removed (e.g., "dog ears", "heart eyes", "emoji")
Step 3: AI analyzes the image and removes the overlay
Step 4: Download your clean photo
Pro Tips:
- Be specific about what to remove
- Works best when the sticker doesn't cover critical face features
- For complex stickers covering the face, try multiple passes
Method 2: Fix Color Distortions
Many Snapchat filters dramatically alter colors — making everything warmer, cooler, or completely desaturated.
For Black & White or Heavily Desaturated Photos:
Use our Color Restore tool to bring back natural colors:
Step 1: Upload your grayscale or color-shifted photo
Step 2: AI analyzes the image structure
Step 3: Natural colors are intelligently restored
Step 4: Fine-tune if needed and download
Method 3: Reduce Beauty Filter Effects
Beauty filters are the trickiest to reverse because they modify pixel data. However, you can significantly improve the photo:
Using Image Enhance:
Step 1: Upload your over-smoothed photo
Step 2: The AI restores natural skin texture and facial details
Step 3: Eyes, teeth, and hair regain sharpness
Step 4: The result looks more natural and less "edited"
Note: Complete reversal of beauty filters isn't always possible. If facial features were significantly morphed (enlarged eyes, slimmed face), those changes cannot be fully undone. However, you can restore natural texture and reduce the "plastic" appearance.
Best Practices for Filter Removal
1. Start with the Highest Quality Source
If you have the original from your camera roll (before filter was applied), use that instead. Filter removal is for when you only have the filtered version.
2. Try Different Approaches
Sometimes combining tools works best:
- Remove stickers first
- Then enhance image quality
- Finally, restore colors if needed
3. Manage Expectations
| Filter Type | Expected Result |
|---|---|
| Stickers/overlays | Excellent |
| Color filters | Very good |
| Heavy beauty filters | Partial improvement |
4. Save Your Results
Always keep both versions — sometimes the filtered photo is still useful as a reference.
Ready to Restore Your Photos?
Stop regretting that filter choice. With AI-powered tools, you can bring your photos back to their natural beauty in seconds.